There are many reasons why you may want to develop locally, rather than on a live server, but tools like MAMP or XAMPP may have run their course (and may also prove difficult to work properly on certain setups, both on Windows and Mac).
You may also need a local environment to teach coding, for example, where buying a hosting for each individual student isn’t an option.
The solution is virtual environments, that perfectly replicate a whole live server and give you all the tools (and more!) you may find on any regular hosting.
This guide will show you how to create a virtual server, using Windows 10 (even though the process is almost identical on Mac), and start developing a new theme or plugin for WordPress, in minutes.
STEP 1
We need to download/install all necessary tools.
I will use the latest PowerShell v.7 (available for Win, Mac and Linux), however, Git Bash and the built-in PowerShell v.6 are also fine).
We will also need the latest VirtualBox and Vagrant.
Once installed both, reboot your machine (you may need to reboot more than once to complete both installations).
STEP 2
Now create a new folder on your Drive, where all our WP development will take place, you can call it
vagrant-local
, or something else. Let’s keep it open in Explorer.
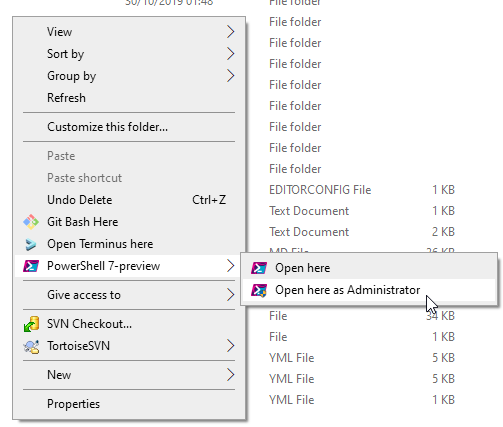
If you installed the PowerShell v.7 you should see a new menu item when right-clicking inside the new folder, so go ahead:

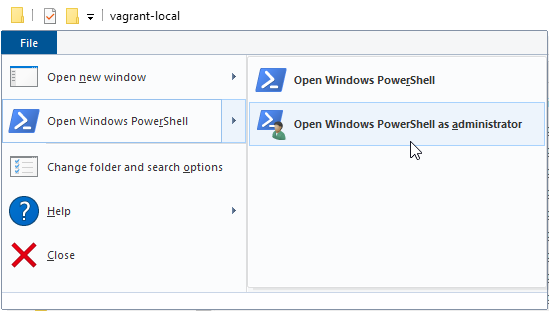
If you are using Git Bash, you might also use Git Bash Here, while if you are on the default Windows PowerShell:

Once the command-line shell of your choice is up, run this command:
vagrant plugin install vagrant-hostsupdater
This will install a plugin for Vagrant that will automate domain mapping, when creating your local WordPress site(s).
If the command succeeds (you don’t see any errors), then both Vagrant and the plugin, installed successfully.
STEP 3
The beauty of Vagrant is that, through a single config file called
VagrantFile
, you can setup a whole server and install WordPress sites, using a single command.
It happens that 4 amazing humans have already compiled the best possible config file for Vagrant & WordPress, known as the “Varying Vagrant Vagrants”.
With the VVV config file, we won’t even need to worry about setting up Vagrant, nor installing WordPress manually.
So let’s download the VVV files into our newly created folder, by running this command in our shell (DON’T forget the final dot!):
git clone -b master git://github.com/Varying-Vagrant-Vagrants/VVV.git .
You will then see all the contents of the git repository, inside your folder.
Now download this custom VVV config file and copy it into the folder, it will provide a custom for VVV that will install 1 WordPress site (you can add more later), as well as PHP 7.3 (the best version yet) and a couple other tools (PHPMyAdmin and a PHP debugging tool) .
Now, all we have to do is run the last command, and Vagrant will setup a full virtual server, all the necessary libraries, WordPress and map the new site to a real-looking urlthat we can use in our browser.
Run in the shell (from the same folder):
vagrant up
Enjoy the console log :)

For the full VVV documentation, or in case of errors, head over to the VVV site.
STEP 4
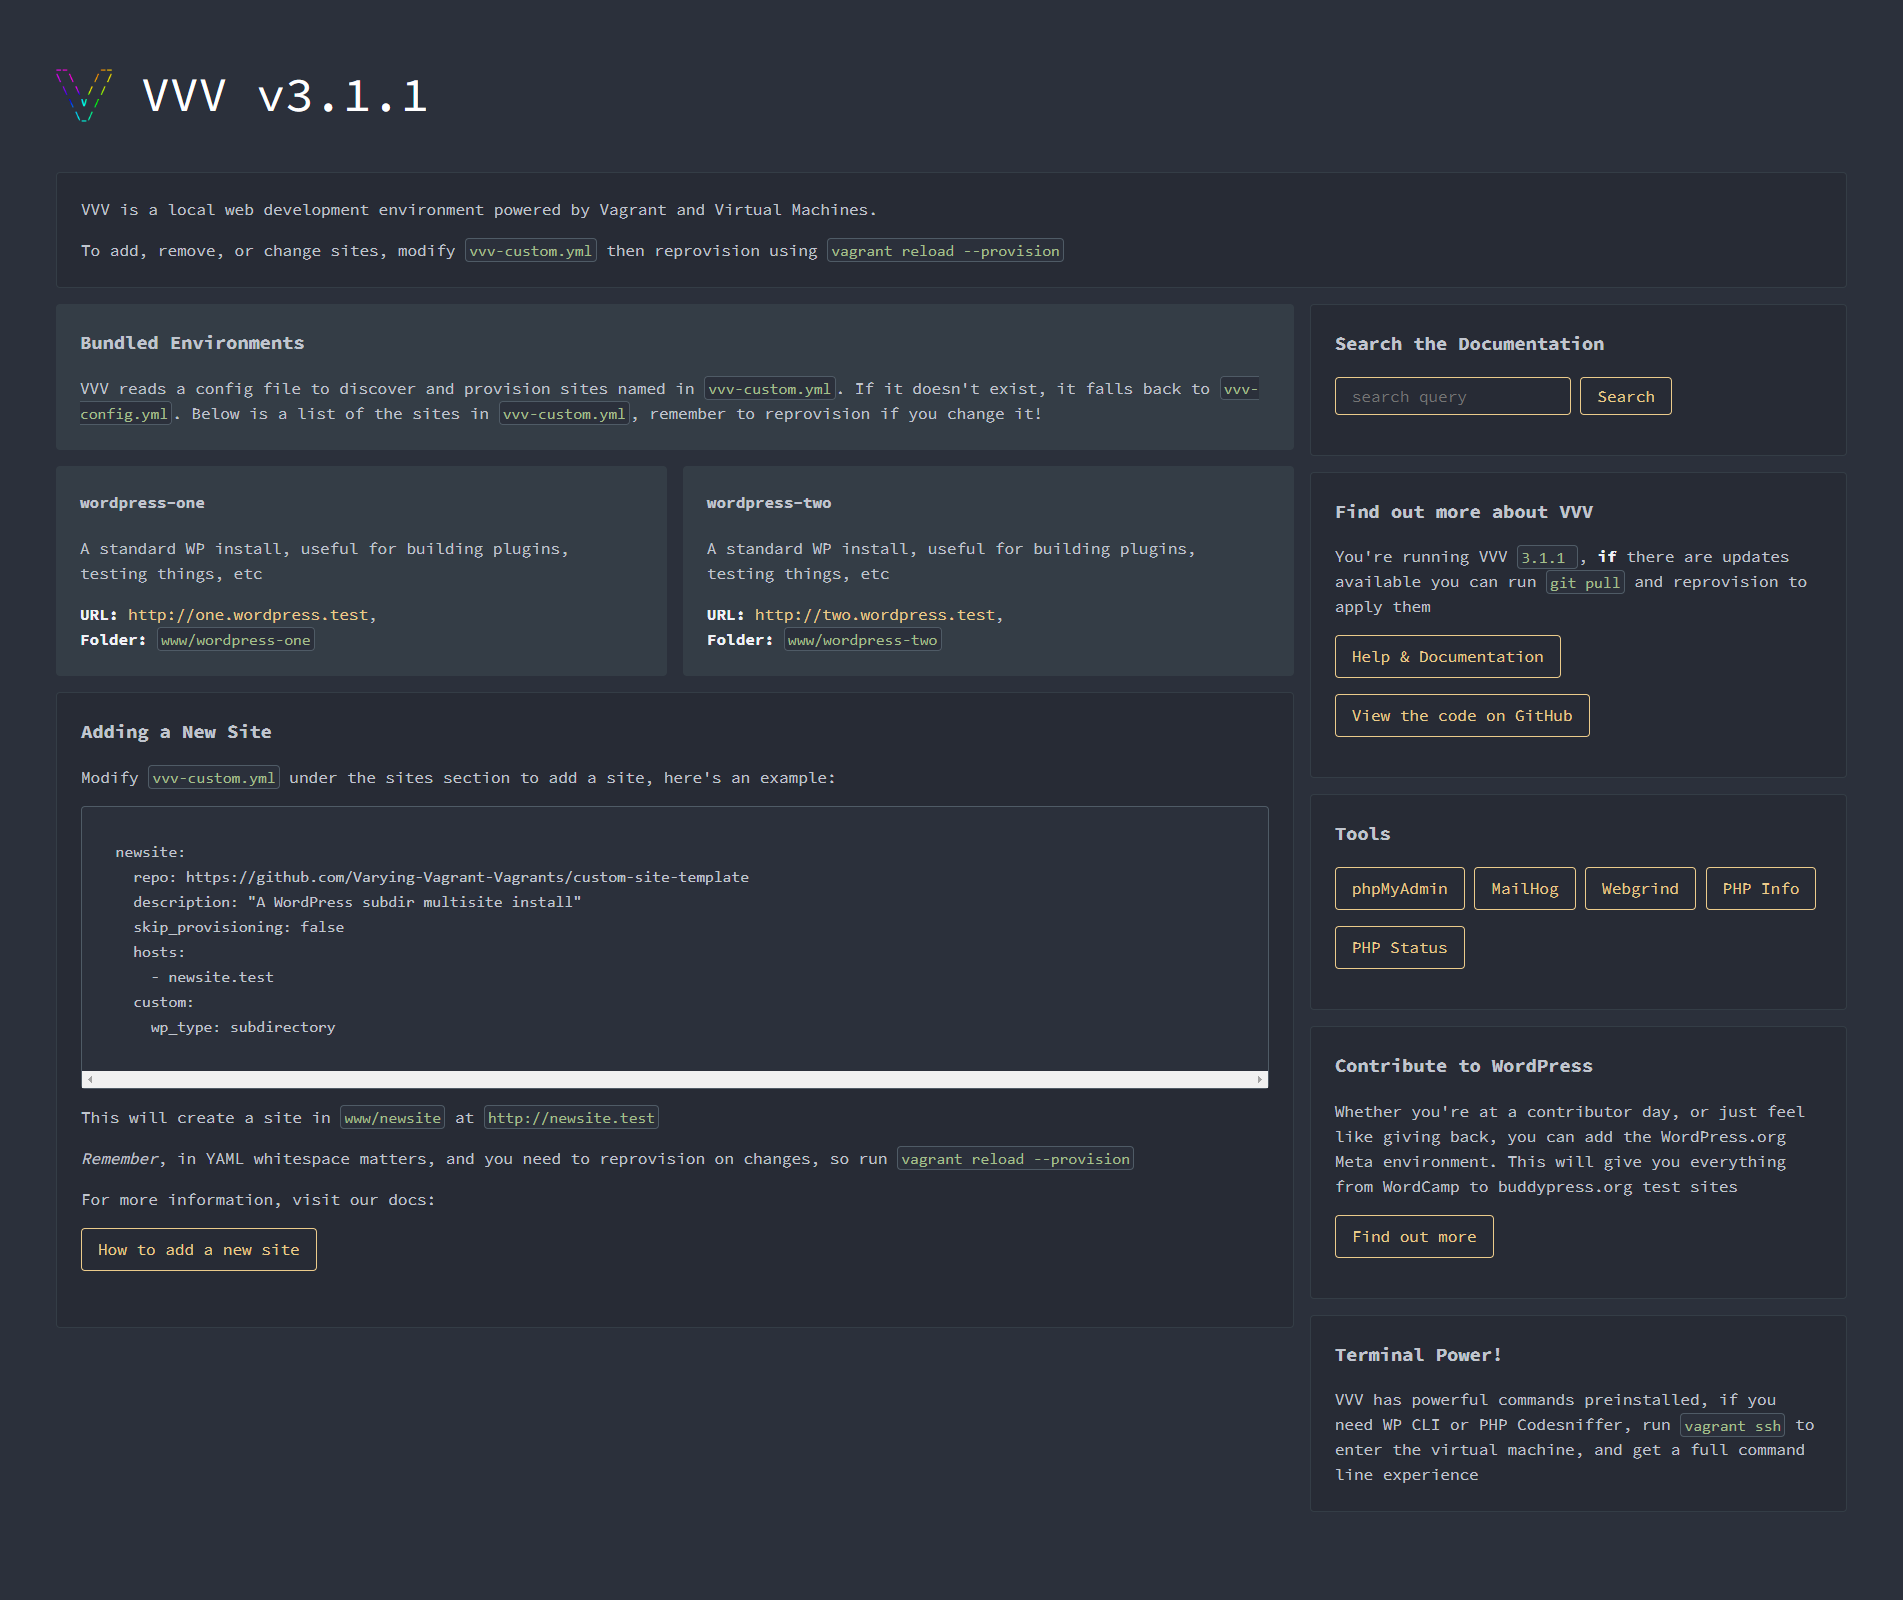
Once the process has completed and there are NO errors, the VVV dashboard will display nicely on your browser, simply by going to your local VVV dashboard at http://vvv.test/ or <http://one.wordpress.test (your new local WP site!).

If you don’t see this screen, then something didn’t work out in the provisioning part of Vagrant.
I suggest you delete the VM image it created (you will find it inside a folder called
VirtualBox VMs
on your drive) , as well as everything inside the
vagrant-local
folder, EXCEPT the
vvv-custom.yml
file, and you start over from STEP 2.
You will find all the WP files, where your work will be done, inside
www\wordpress-one\public_html
(inside the folder we created earlier).
You can then access the WP backend by going to http://one.wordpress.test/wp-admin and using admin / password as your login.
BONUS TIPS!
- You will find the link to your local PHPMyAdmin in your VVV dashboard, but in case you missed it, it’s http://vvv.test/database-admin/ and you can login using wp / wp.
- You might need to update Vagrant now and then, so go ahead and use this command
vagrant box update.
In case you update manually through a file though, you will need to launch this command afterwardsvagrant box prune, thenvagrant haltandvagrant up --provision. - If you need to remove a WordPress site, first you need to comment it out in your
vvv-custom.yml, then you can proceed to delete the whole folder within the www one and finally delete the database using PHPMyAdmin.